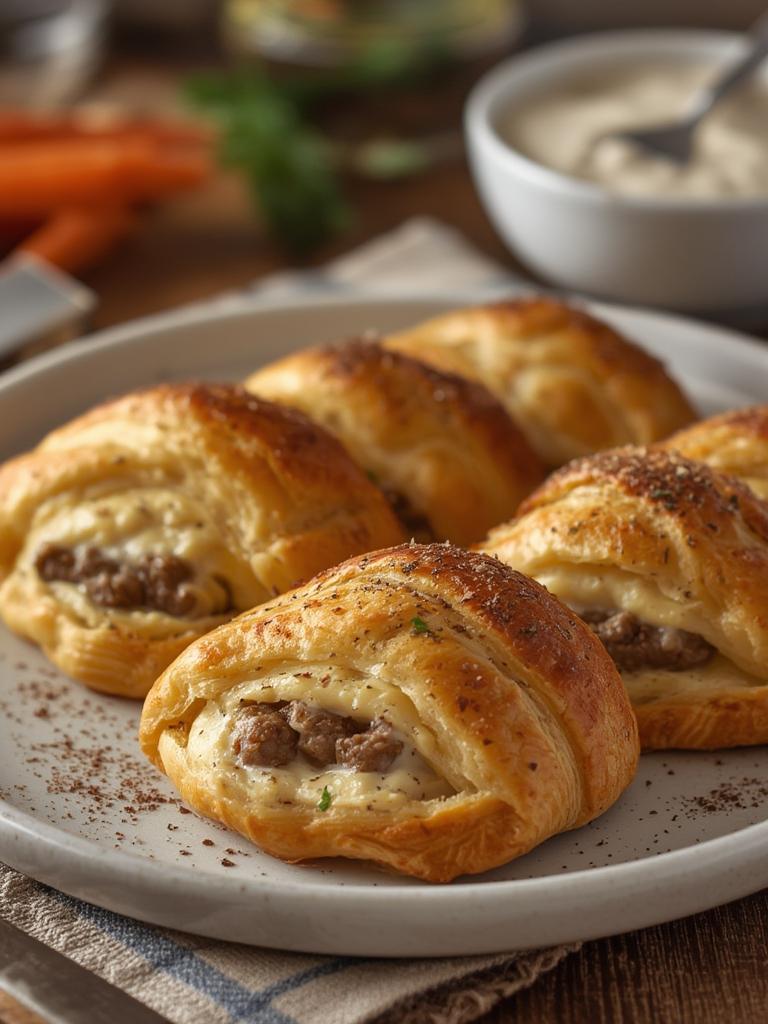
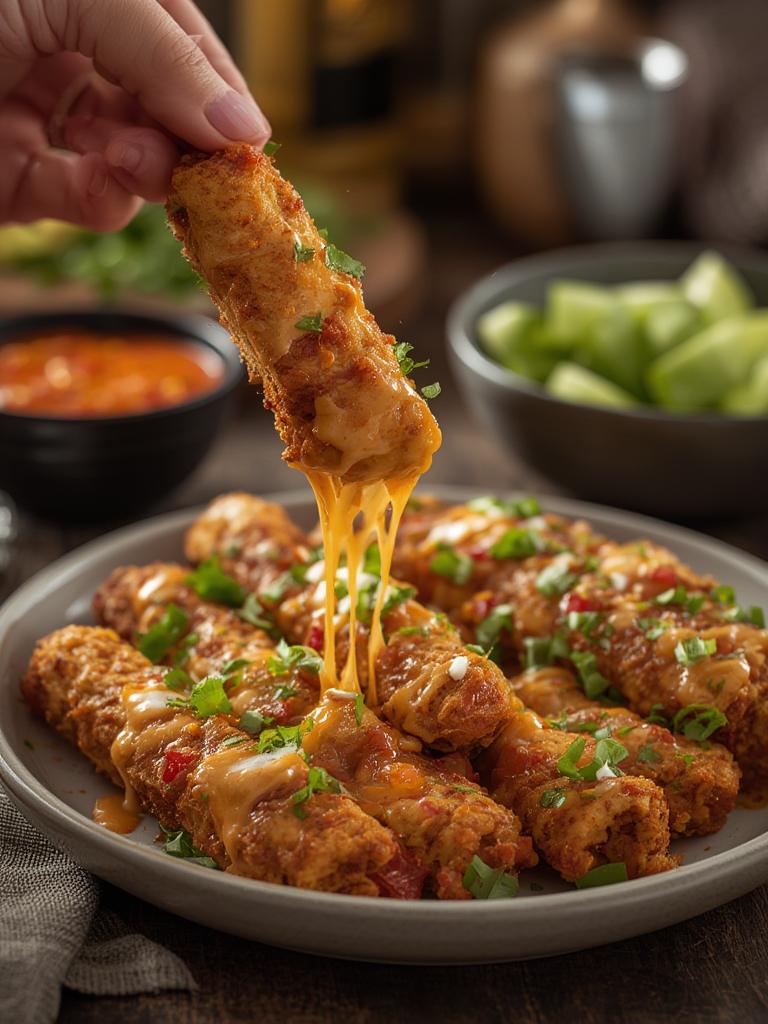
Quick Cheesy Taco Sticks in 20 Minutes
Are you craving something fun, cheesy, and full of flavor? Look no further than these Quick Cheesy Taco Sticks! In just 20 minutes, you can whip up a delicious snack that’s perfect for game night, family gatherings, or a simple weeknight treat. These Taco Cheese Bites are sure to please everyone at the table, combining the beloved flavors of tacos with gooey cheese wrapped in a crispy shell. Let’s dive right into this simple and mouthwatering recipe!
Ingredients & Kitchen Tools
Ingredients:
– 1 package of pre-made crescent roll dough
– 1 cup cooked and seasoned ground chicken or beef
– 1 cup shredded cheddar cheese
– ½ cup refried beans (optional)
– 1 tablespoon taco seasoning
– Fresh cilantro, chopped (for garnish)
– Salsa or guacamole for dipping
Kitchen Tools:
– Baking sheet
– Parchment paper (optional)
– Mixing bowl
– Fork or knife for cutting
– Cooking spatula
Prep & Cook Time
Prep Time: 10 minutes
Cook Time: 10 minutes
Total Time: 20 minutes
Step-by-Step Instructions
1. Preheat the Oven: Start by preheating your oven to 375°F (190°C). This will ensure your cheesy taco sticks bake evenly and get that perfect golden brown color.
2. Prepare the Filling: In a mixing bowl, combine your cooked ground chicken or beef with taco seasoning. Add refried beans if you like a creamier texture. Stir in the shredded cheddar cheese until everything is well mixed.
3. Roll Out the Crescent Dough: Open the crescent dough package and lay out the sheets on a clean surface. If using parchment paper, place it on your baking sheet for easy cleanup.
4. Cut the Dough: Separate the crescent rolls and cut each triangle in half lengthwise. You’ll get smaller triangles that are perfect for holding your taco filling.
5. Fill the Dough: Spoon a generous amount of the cheesy taco mixture onto the wider end of each triangle. Be careful not to overfill, as you’ll need to roll them up tightly.
6. Roll and Seal: Roll the triangles starting from the wide end, tucking in the filling as you go. Pinch the edges to seal them well, ensuring none of that cheesy goodness escapes during baking.
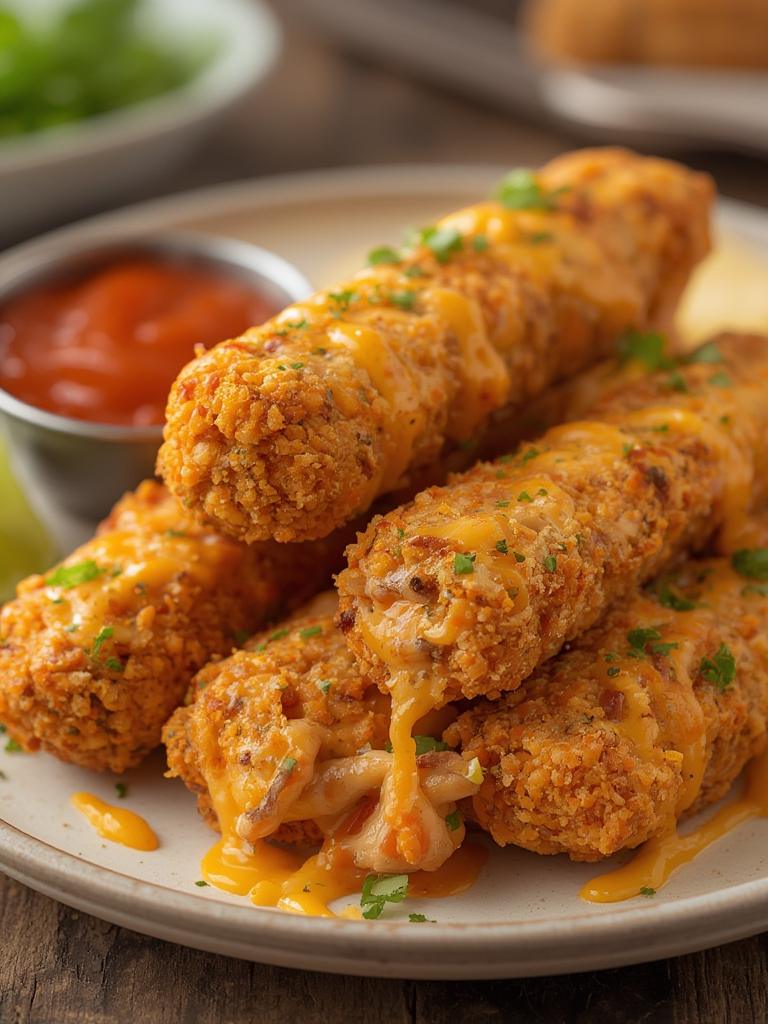
7. Bake: Place the rolled sticks on your baking sheet and bake for 10-12 minutes or until they’re puffed and golden brown.
8. Serve: Remove from the oven and let them cool slightly. Garnish with fresh cilantro and serve with salsa or guacamole for dipping.
Nutritional Benefits or Advantages
These Quick Cheesy Taco Sticks are not just tasty; they also come with some nutritional perks. Using ground chicken or beef provides a good source of protein, while the cheddar cheese offers calcium and healthy fats. If you add refried beans, you’re increasing the fiber content, making these bites more filling. This recipe is a fun way to get your family engaged in cooking while sneaking in some essential nutrients!
Tips, Variations, or Substitutions
– Meat Alternatives: Try using seasoned tofu or textured vegetable protein for a vegetarian option.
– Cheese Choices: Feel free to experiment with different cheese types like Monterey Jack or Pepper Jack for a kick.
– Add Veggies: Include chopped bell peppers or onions in the filling for extra crunch and vitamins.
Common Mistakes to Avoid
– Overfilling: Avoid the temptation to add too much filling, which may cause your taco sticks to burst open while baking.
– Not Sealing Properly: Make sure to pinch the edges tightly. If not, you could end up with a cheesy mess in the oven!
– Overbaking: Keep an eye on them to prevent overbaking—golden brown is your aim!
Storage and Reheating Tips
Store leftover cheesy taco sticks in an airtight container in the refrigerator for up to 3 days. To reheat, place them in a preheated oven at 350°F (175°C) for about 5-7 minutes, or until warmed through. This will help retain their crispy texture.
Conclusion
Now you have a quick and delicious recipe for Cheesy Taco Sticks that’s perfect for any occasion. Whether you’re hosting a party or just want to enjoy a cozy night in, these Taco Cheese Bites will hit the spot. Don’t forget to share your experience and any variations you tried in the comments below!
FAQs
Can I make these ahead of time?
Yes! You can prep the filling and store it in the refrigerator, then assemble and bake when you’re ready.
What can I serve with these taco sticks?
Salsa, guacamole, or sour cream are great dipping options!
Can I freeze these?
Absolutely! Freeze them raw, and bake them straight from the freezer, adding a couple of minutes to the baking time.
How do I know when they’re done?
They should be golden brown and puffed up—that’s when you know they’re ready to be enjoyed!