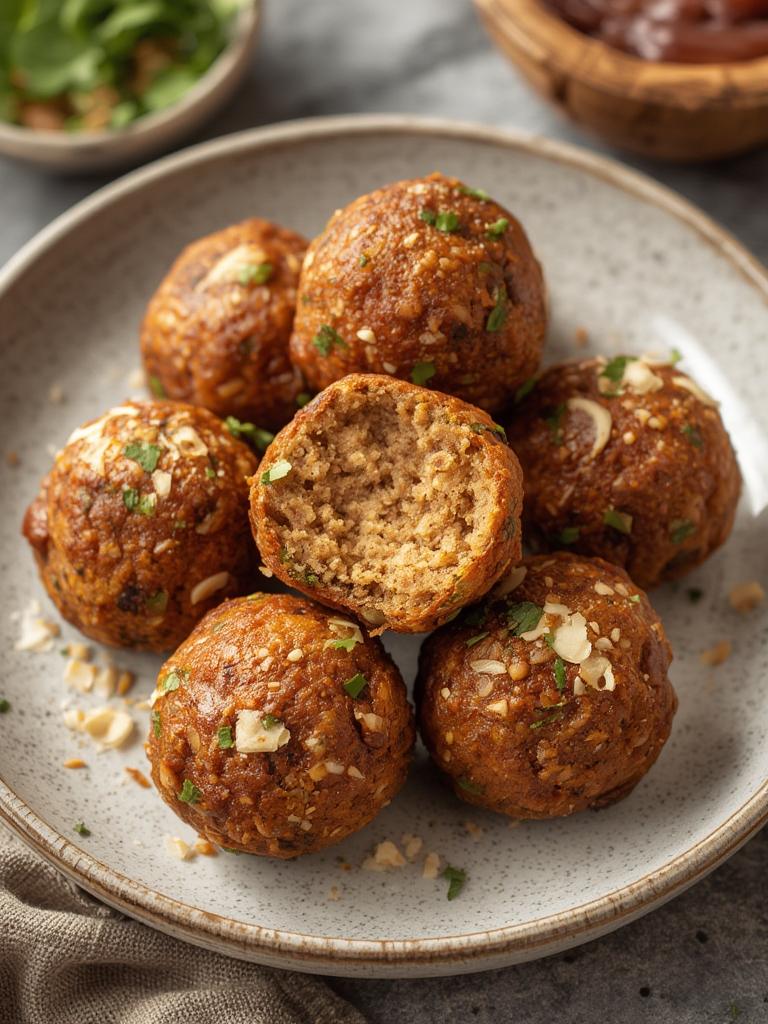
Power Up with Delicious Protein Balls!
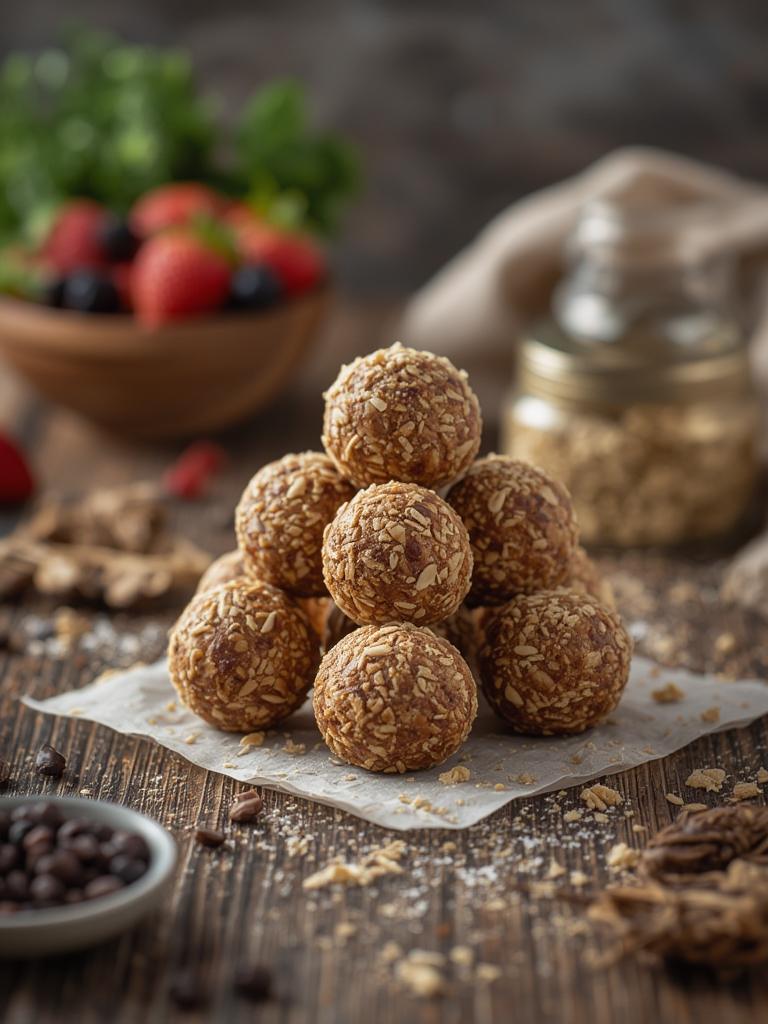
Are you looking for a nutritious and tasty snack that packs a punch? Look no further than protein balls! These little powerhouses are not only delicious but also incredibly easy to make. Whether you’re gearing up for a workout or need a mid-afternoon energy boost, protein balls can provide you with the energy you need to power through your day. Plus, they’re perfectly portable, making them a fabulous snack to take on the go!
Ingredients & Kitchen Tools
Ingredients:
– 1 cup rolled oats
– 1/2 cup nut butter (peanut, almond, or cashew)
– 1/4 cup honey or maple syrup
– 1/2 cup protein powder (any flavor you prefer)
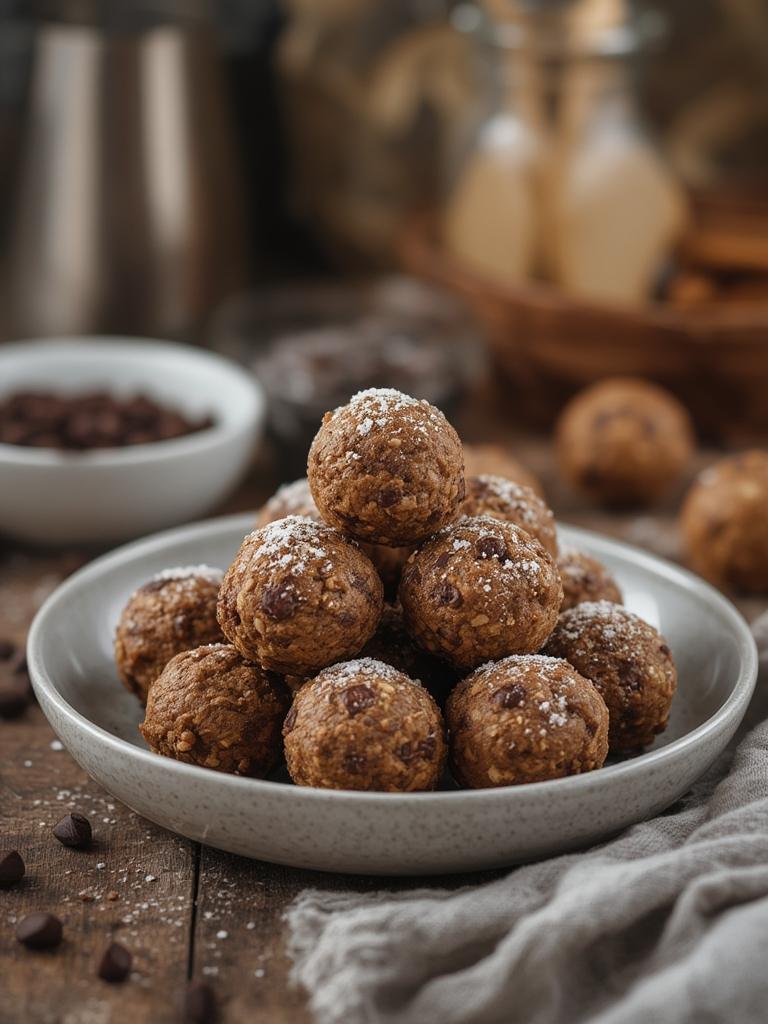
– 1/4 cup chocolate chips or dried fruit
– 1/2 teaspoon vanilla extract
– A pinch of salt
Kitchen Tools:
– Mixing bowl
– Spoon or spatula
– Baking sheet or plate
– Refrigerator
Prep & Cook Time
– Prep Time: 15 minutes
– Chill Time: 30 minutes
– Total Time: 45 minutes
Step-by-Step Instructions
1. Combine Dry Ingredients: In a mixing bowl, add the rolled oats, protein powder, and a pinch of salt. Stir until well-combined.
2. Add Wet Ingredients: Into the same bowl, add the nut butter, honey (or maple syrup), and vanilla extract. Use a spoon or spatula to thoroughly mix the ingredients until it forms a thick dough.
3. Incorporate Add-ins: Fold in your choice of chocolate chips or dried fruit. This adds both flavor and texture, making your protein balls even more enjoyable!
4. Roll into Balls: Using your hands, roll the mixture into small balls, about 1 inch in diameter. You should make around 12-16 protein balls depending on your preferred size.
5. Chill: Place the balls in a single layer on a baking sheet or plate and refrigerate for at least 30 minutes, allowing them to firm up.
6. Enjoy: Once chilled, your delicious protein balls are ready to eat! Snack on them as needed, and don’t forget to share!
Nutritional Benefits or Advantages
Protein balls are a great snack option for several reasons. They’re packed with protein, helping to build and repair muscles, while the healthy fats from nut butter provide sustained energy. The rolled oats offer fiber for digestion, promoting a sense of fullness. Plus, you can easily customize them with your favorite ingredients, ensuring you get a nutritious treat that suits your taste!
Tips, Variations, or Substitutions
– Nut-Free Version: Substitute the nut butter for sunflower seed butter or soy nut butter if you want a nut-free option.
– Add Seeds: Incorporate chia seeds or flaxseeds for an extra boost of omega-3 fatty acids.
– Flavor Variations: Try adding cocoa powder for a chocolate version or coconut flakes for a tropical twist!
Common Mistakes to Avoid
– Too Dry or Too Wet: Be careful with the ratios of wet to dry ingredients. If the mixture is too dry, add a little more honey or nut butter until it sticks together well. If it’s too wet, add a bit more protein powder or oats.
– Skipping Chill Time: Don’t skip the chilling step! Chilling helps the balls hold their shape better and enhances their flavors.
Storage and Reheating Tips
Store your protein balls in an airtight container in the fridge for up to one week. You can also freeze them for longer storage. To thaw, simply take them out a few hours before serving. These protein balls can be enjoyed cold or at room temperature, making them a versatile snack choice!
Conclusion
Now that you have your easy and nutritious protein balls recipe, it’s time to gather your ingredients and get started! Whether you make these as a snack for yourself or to share with family and friends, they are sure to be a hit. Don’t forget to share your creations and let me know how you enjoy your protein balls!
FAQs
How many protein balls can I eat for a snack?
A good serving is about 1-3 protein balls, depending on your hunger level and activity.
Can I use a different type of protein powder?
Absolutely! Feel free to use any flavor or brand that you prefer, or even a plant-based option if desired.
Are these gluten-free?
Yes! Just make sure you’re using gluten-free oats to ensure your protein balls remain gluten-free.
How can I make these sugar-free?
Opt for sugar-free nut butter and replace honey or maple syrup with a sugar substitute like stevia or erythritol. Happy snacking!